Mastering the art of the perfect Grilled Veggie Skewers is a rite of passage for any home cook looking to elevate their summer BBQ game. These aren’t just your standard side dish; they are a vibrant, charred, and aromatic centerpiece that brings professional-grade culinary flair to your backyard grill.
There is a specific science to achieving that perfect balance of a smoky, charred exterior and a tender, succulent interior. We are moving far beyond mushy, overcooked vegetables and into the realm of artisan-level grilling that focuses on texture, flavor infusion, and visual appeal.
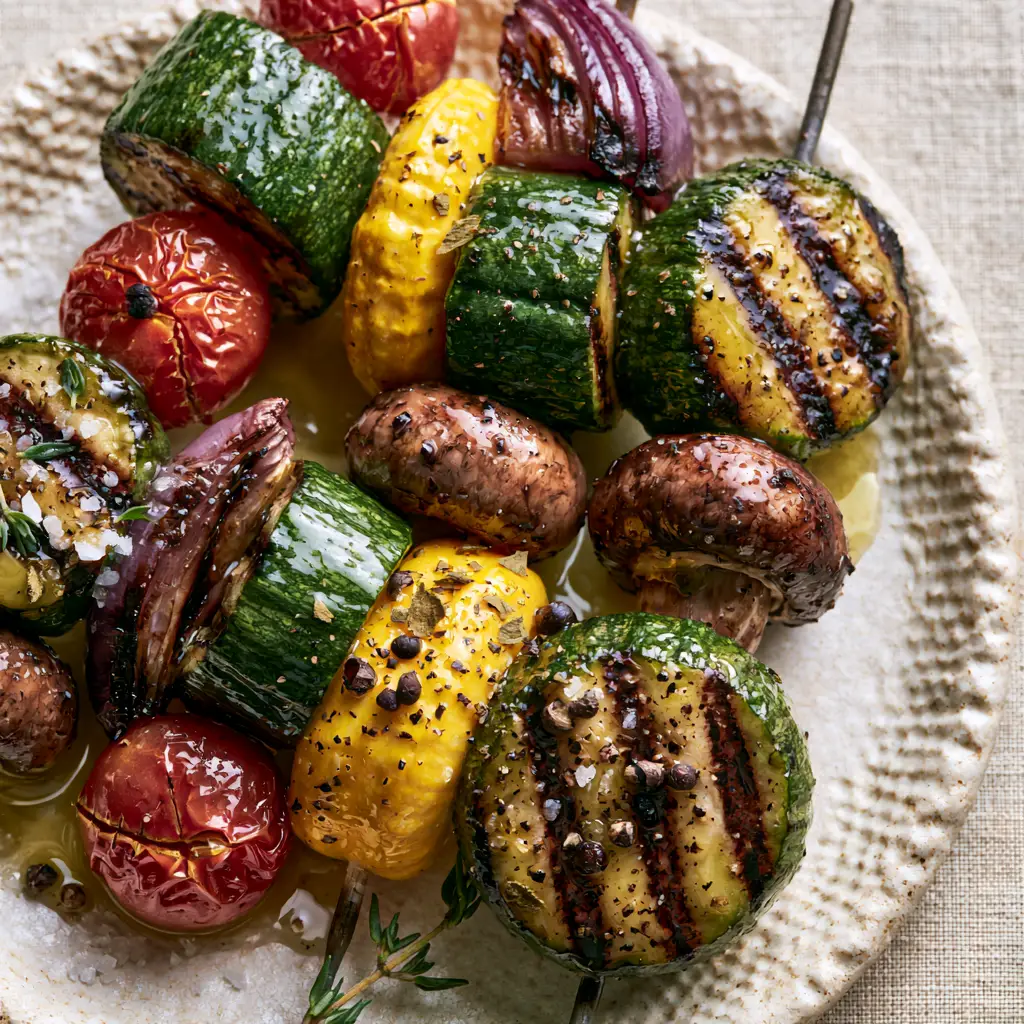
By following this guide, you will learn how to create skewers that look exactly like a high-end food magazine cover—complete with blistered cherry tomatoes, dark grill marks on zucchini, and a translucent, herb-flecked glaze that catches the light beautifully.
Why These Artisan Summer Skewers Stand Out
- Visual Precision: Every skewer features a rainbow of textures, from the tiny cracks in the skin of blistered cherry tomatoes to the dark, distinct grill marks on thick-cut zucchini rounds.
- Layered Flavor Profile: We don’t just brush on oil; we create a deep-reaching garlic-herb marinade that penetrates the cell walls of the vegetables for maximum impact.
- Structural Integrity: By using specific cutting techniques for purple onion wedges and cremini mushrooms, we ensure the vegetables stay firmly on the skewer without spinning or falling through the grates.
- Textural Contrast: Experience the “snap” of fresh summer squash paired with the earthy, roasted softness of whole cremini mushrooms.
Essential Ingredients for the Perfect Charred Skewers
Achieving the culinary results of high-quality Grilled Veggie Skewers requires more than just picking vegetables at random. You need a mix of high-moisture and dense produce to withstand the intense heat of the flame.
Green Zucchini: We use 2 large zucchini cut into 1-inch (2.5cm) rounds. The green skin provides a beautiful color contrast and helps the vegetable hold its shape during the searing process.
Yellow Summer Squash: You will need 2 medium squashes, also cut into 1-inch (2.5cm) rounds. Its slightly sweeter profile balances the earthy notes of the other vegetables while providing that vibrant yellow hue.
Cherry Tomatoes: 1 pint (approx. 250g) of firm cherry tomatoes is essential. These act as “flavor bombs” that blister and concentrate their sugars under the heat.
Purple Onion: 2 medium red or purple onions, cut into thick wedges. The layers of the onion provide a sharp, savory bite and a beautiful charred edge when exposed to direct flame.
Cremini Mushrooms: 8 oz (225g) of whole mushrooms are used for their meaty texture. They act like sponges, soaking up the garlic-herb marinade and providing a savory depth to the skewer.
Extra Virgin Olive Oil: 1/2 cup (120ml) of high-quality oil serves as the base of our “glistening” marinade. It has the necessary fat content to facilitate the Maillard reaction on the grill.
Fresh Garlic: 4 large cloves (approx. 20g), finely minced. The oils from the garlic infuse into the marinade, creating a pungent and aromatic coating for the vegetables.
Dried Oregano & Fresh Thyme: 1 tsp (2g) of dried oregano flakes and 1 tbsp (3g) of fresh thyme leaves. These herbs provide the visible green flecks and the classic Mediterranean aroma found in professional Grilled Veggie Skewers.
Coarse Sea Salt & Cracked Black Pepper: 1 tsp (6g) each. These large grains are vital for the visual texture and for drawing out just enough moisture to allow for better searing.
If you are planning a full outdoor feast, consider starting your meal with a refreshing cucumber onion tomato salad to double down on the fresh produce theme.
Tools for Achieving Restaurant-Quality Grill Marks
To replicate the artisan look of our Grilled Veggie Skewers, you cannot rely on a dull grill. You need tools that conduct heat efficiently and allow for precision handling.
The Skewers: If using bamboo skewers, they must be soaked in water for at least 30 minutes to prevent burning. For the best result, high-quality stainless steel flat skewers prevent the vegetables from spinning when you flip them.
The Grill: A gas or charcoal grill capable of reaching a steady 450°F (232°C). This high heat is what creates the “dark, distinct grill marks” mentioned in our visual blueprint.
A Heavy-Duty Basting Brush: This is essential for applying the herb oil in layers. We want the vegetables to be glistening, not dripping, which requires a controlled application.
Tongs: Long-handled stainless steel tongs allow you to move the skewers across the hot zones of the grill without damaging the delicate blistered skins of the tomatoes.
Mastering the Art of the Perfect Grilled Veggie Skewers
Phase 1: The Flavor Infusion (Marinade Prep)
In a small glass bowl, whisk together 1/2 cup (120ml) of olive oil, the minced garlic, dried oregano, and fresh thyme. Add the coarse sea salt and cracked black pepper, whisking vigorously to emulsify the oil and aromatics.
Allow this mixture to sit for at least 15 minutes at room temperature. This “blooms” the dried oregano and allows the garlic to mellow into the oil, ensuring every inch of your Grilled Veggie Skewers is packed with flavor.
Phase 2: Precision Slicing and Assembly
Cut your zucchini and yellow squash into uniform 1-inch (2.5cm) rounds. If the rounds are too thin, they will turn mushy before the grill marks form; if they are too thick, the center will remain raw.
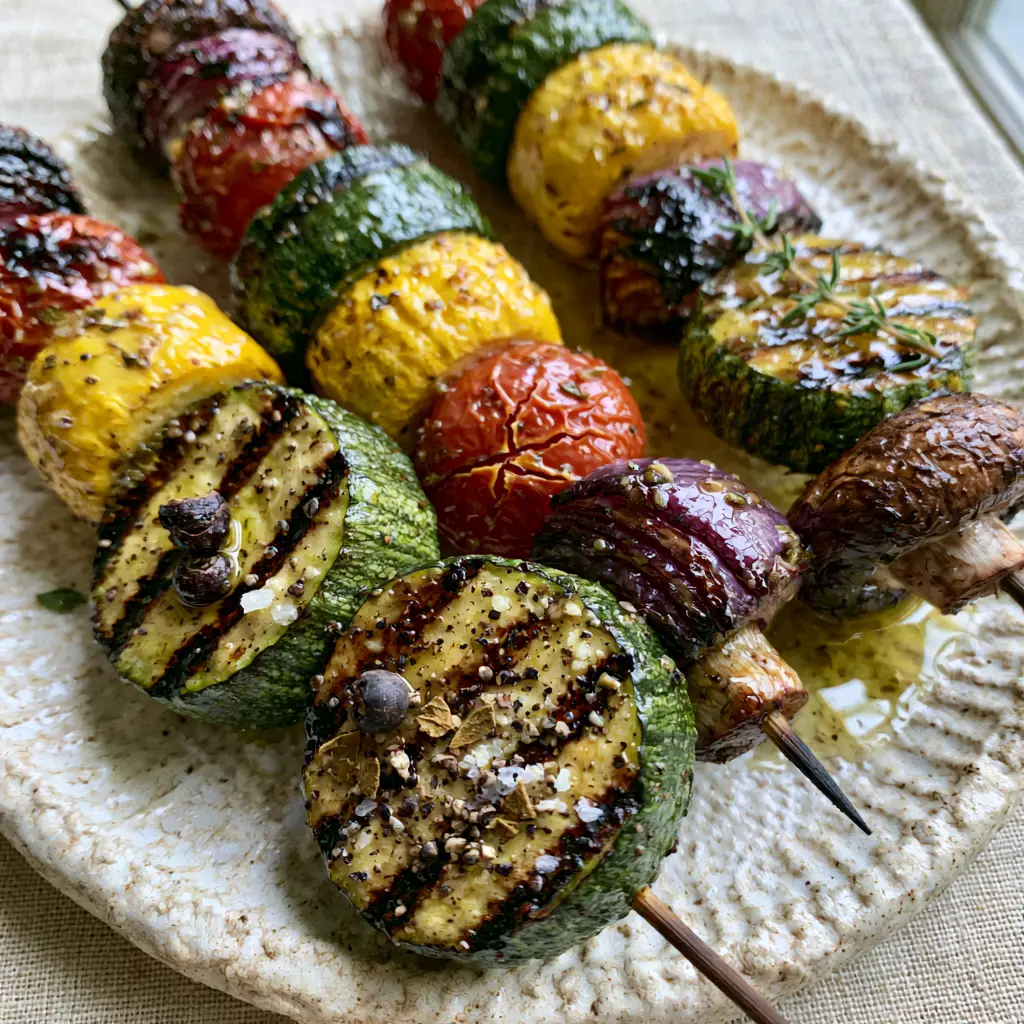
Slice the purple onions into 6-8 thick wedges, keeping the root end intact if possible to prevent the layers from sliding apart. Thread the vegetables onto the skewers in a repeating pattern: zucchini, onion, tomato, squash, and mushroom.
Leave a tiny 1/8 inch (3mm) gap between each vegetable. This allows the heat to circulate entirely around each piece, ensuring the sides get charred and the tomatoes can properly blister.
Phase 3: The High-Heat Sear
Preheat your grill to medium-high heat. Clean the grates thoroughly and lightly oil them to prevent sticking. Lay the Grilled Veggie Skewers across the grates, perpendicular to the bars.
Press down lightly on each skewer with your tongs to ensure maximum surface contact. Sear for 4-5 minutes without moving them. You are looking for those “dark, distinct grill marks” to form. Use your Bast-brush to apply a thin layer of the garlic-herb oil during this first side sear.
Phase 4: Flipping and Blistering
Carefully flip the skewers. You will notice the cherry tomatoes beginning to develop “tiny cracks in the skin”—this is the sign that the internal steam is building, concentrating the tomato juice into a sweet syrup.
Grill for another 4-5 minutes on the second side. Baste one final time with the remaining oil. The vegetables should look “firm, crisp-tender, and exceptionally fresh” but with deep charred edges on the onions and zucchini.
If you’re looking for more plant-based inspiration, these skewers are perfect additions to our collection of 30-minute vegetarian meals.
Pro Secrets for Vegetable Grilling Success
- The Dry Surface Rule: Always pat your vegetables dry with a paper towel before applying the marinade. Excess moisture creates steam, which prevents the formation of hard grill marks.
- Internal Temperature: Vegetables don’t have a “done” temp like meat, but you can feel the resistance with a toothpick. It should slide in easily but meet a tiny bit of tension in the center of the zucchini.
- Managing the Tomatoes: If your tomatoes are very ripe, thread them on the ends of the skewers. This allows you to pull them off the direct heat slightly if they begin to burst too early.
- The Resting Period: Let the skewers rest on the serving plate for 3 minutes before eating. This allows the internal juices to settle and the “glistening” oil to slightly thicken into a glaze.
Best Practices for Prepping and Storing Leftover Skewers
While Grilled Veggie Skewers are best enjoyed fresh off the flames, they can be repurposed beautifully. Store any leftovers in an airtight glass container in the refrigerator for up to 3 days.
To reheat, avoid the microwave, as it will make the zucchini and squash soggy. Instead, toss the vegetables in a hot skillet for 2-3 minutes or place them under a broiler until the oil begins to sizzle again.
For a clever leftover hack, slide the vegetables off the skewers and chop them up. They make an incredible charred topping for savory Greek yogurt waffles or can be tossed into a quick pasta salad.
Delicious Pairings: What to Serve with Grilled Veggie Skewers
To create a complete artisan meal, you need to balance the smoky, herbaceous notes of the Grilled Veggie Skewers with complementary textures and flavors.
For a protein-packed BBQ, serve these alongside Thai-style ground pork skewers. The spicy, savory pork contrasts perfectly with the clean, garden-fresh taste of the grilled vegetables.
If you are looking for a more casual summer vibe, a side of creamy Hawaiian mac salad provides a cool, rich counterpoint to the charred veggies. To drink, nothing beats a chilled lemonade moscato wine spritzer to cut through the garlic-heavy marinade.
Frequently Asked Questions
Yes! Use a cast-iron grill pan on high heat. You will still get beautiful grill marks, though you may need to cook in batches to avoid crowding the pan.
To prevent spinning, use flat metal skewers instead of round ones. Alternatively, you can use two thin bamboo skewers per kabob to lock the vegetables in place.
No, precooking is not necessary if you slice them to the recommended 1-inch (2.5cm) thickness. The high heat of the grill will cook them perfectly while maintaining a crisp-tender texture.
Soak your bamboo skewers in cold water for at least 30 to 60 minutes before threading. This adds moisture to the wood, allowing it to withstand the direct flame without catching fire.
This usually happens if the tomatoes are overripe or if they are cooked for too long. Use firm cherry tomatoes and place them in the middle of the skewer where they are supported by sturdier vegetables like zucchini.
The Ultimate Grilled Veggie Skewers Recipe
Now that you’ve mastered the technique, it’s time to fire up the grill. This recipe combines the rustic beauty of fresh summer produce with a chef-curated garlic-herb infusion for a result that is as visually stunning as it is delicious.
Grilled Veggie Skewers with Glistening Garlic-Herb Oil
Ingredients
Equipment
Method
- In a small bowl, whisk together the olive oil, minced garlic, oregano, thyme, sea salt, and black pepper. Let it sit for 15 minutes to allow flavors to bloom.
- Thread the zucchini, squash, onion, tomatoes, and mushrooms onto the skewers in an alternating pattern. Leave a tiny gap between pieces for heat circulation.
- Place skewers on a preheated medium-high grill. Brush with the garlic-herb oil and grill for 4-5 minutes until dark grill marks appear.
- Carefully flip the skewers. Baste again. Grill for another 4-5 minutes until the tomatoes begin to blister and crack and the onions are charred.
Notes
Apply the marinade twice—once before flipping and once after—to ensure a glistening finish.
Bring the Flavors of Summer to Your Table
These Grilled Veggie Skewers represent the pinnacle of simple, high-quality cooking. By focusing on the visual cues—the blisters, the chars, and the glisten—you transform a basic side dish into an artisan experience that your guests will remember.
We invite you to try this recipe at your next gathering and share your results! If you enjoyed this charred masterpiece, please leave a comment below and follow us for more culinary inspiration on Pinterest. Don’t forget to sign up for our newsletter to get more artisan recipes delivered straight to your inbox.